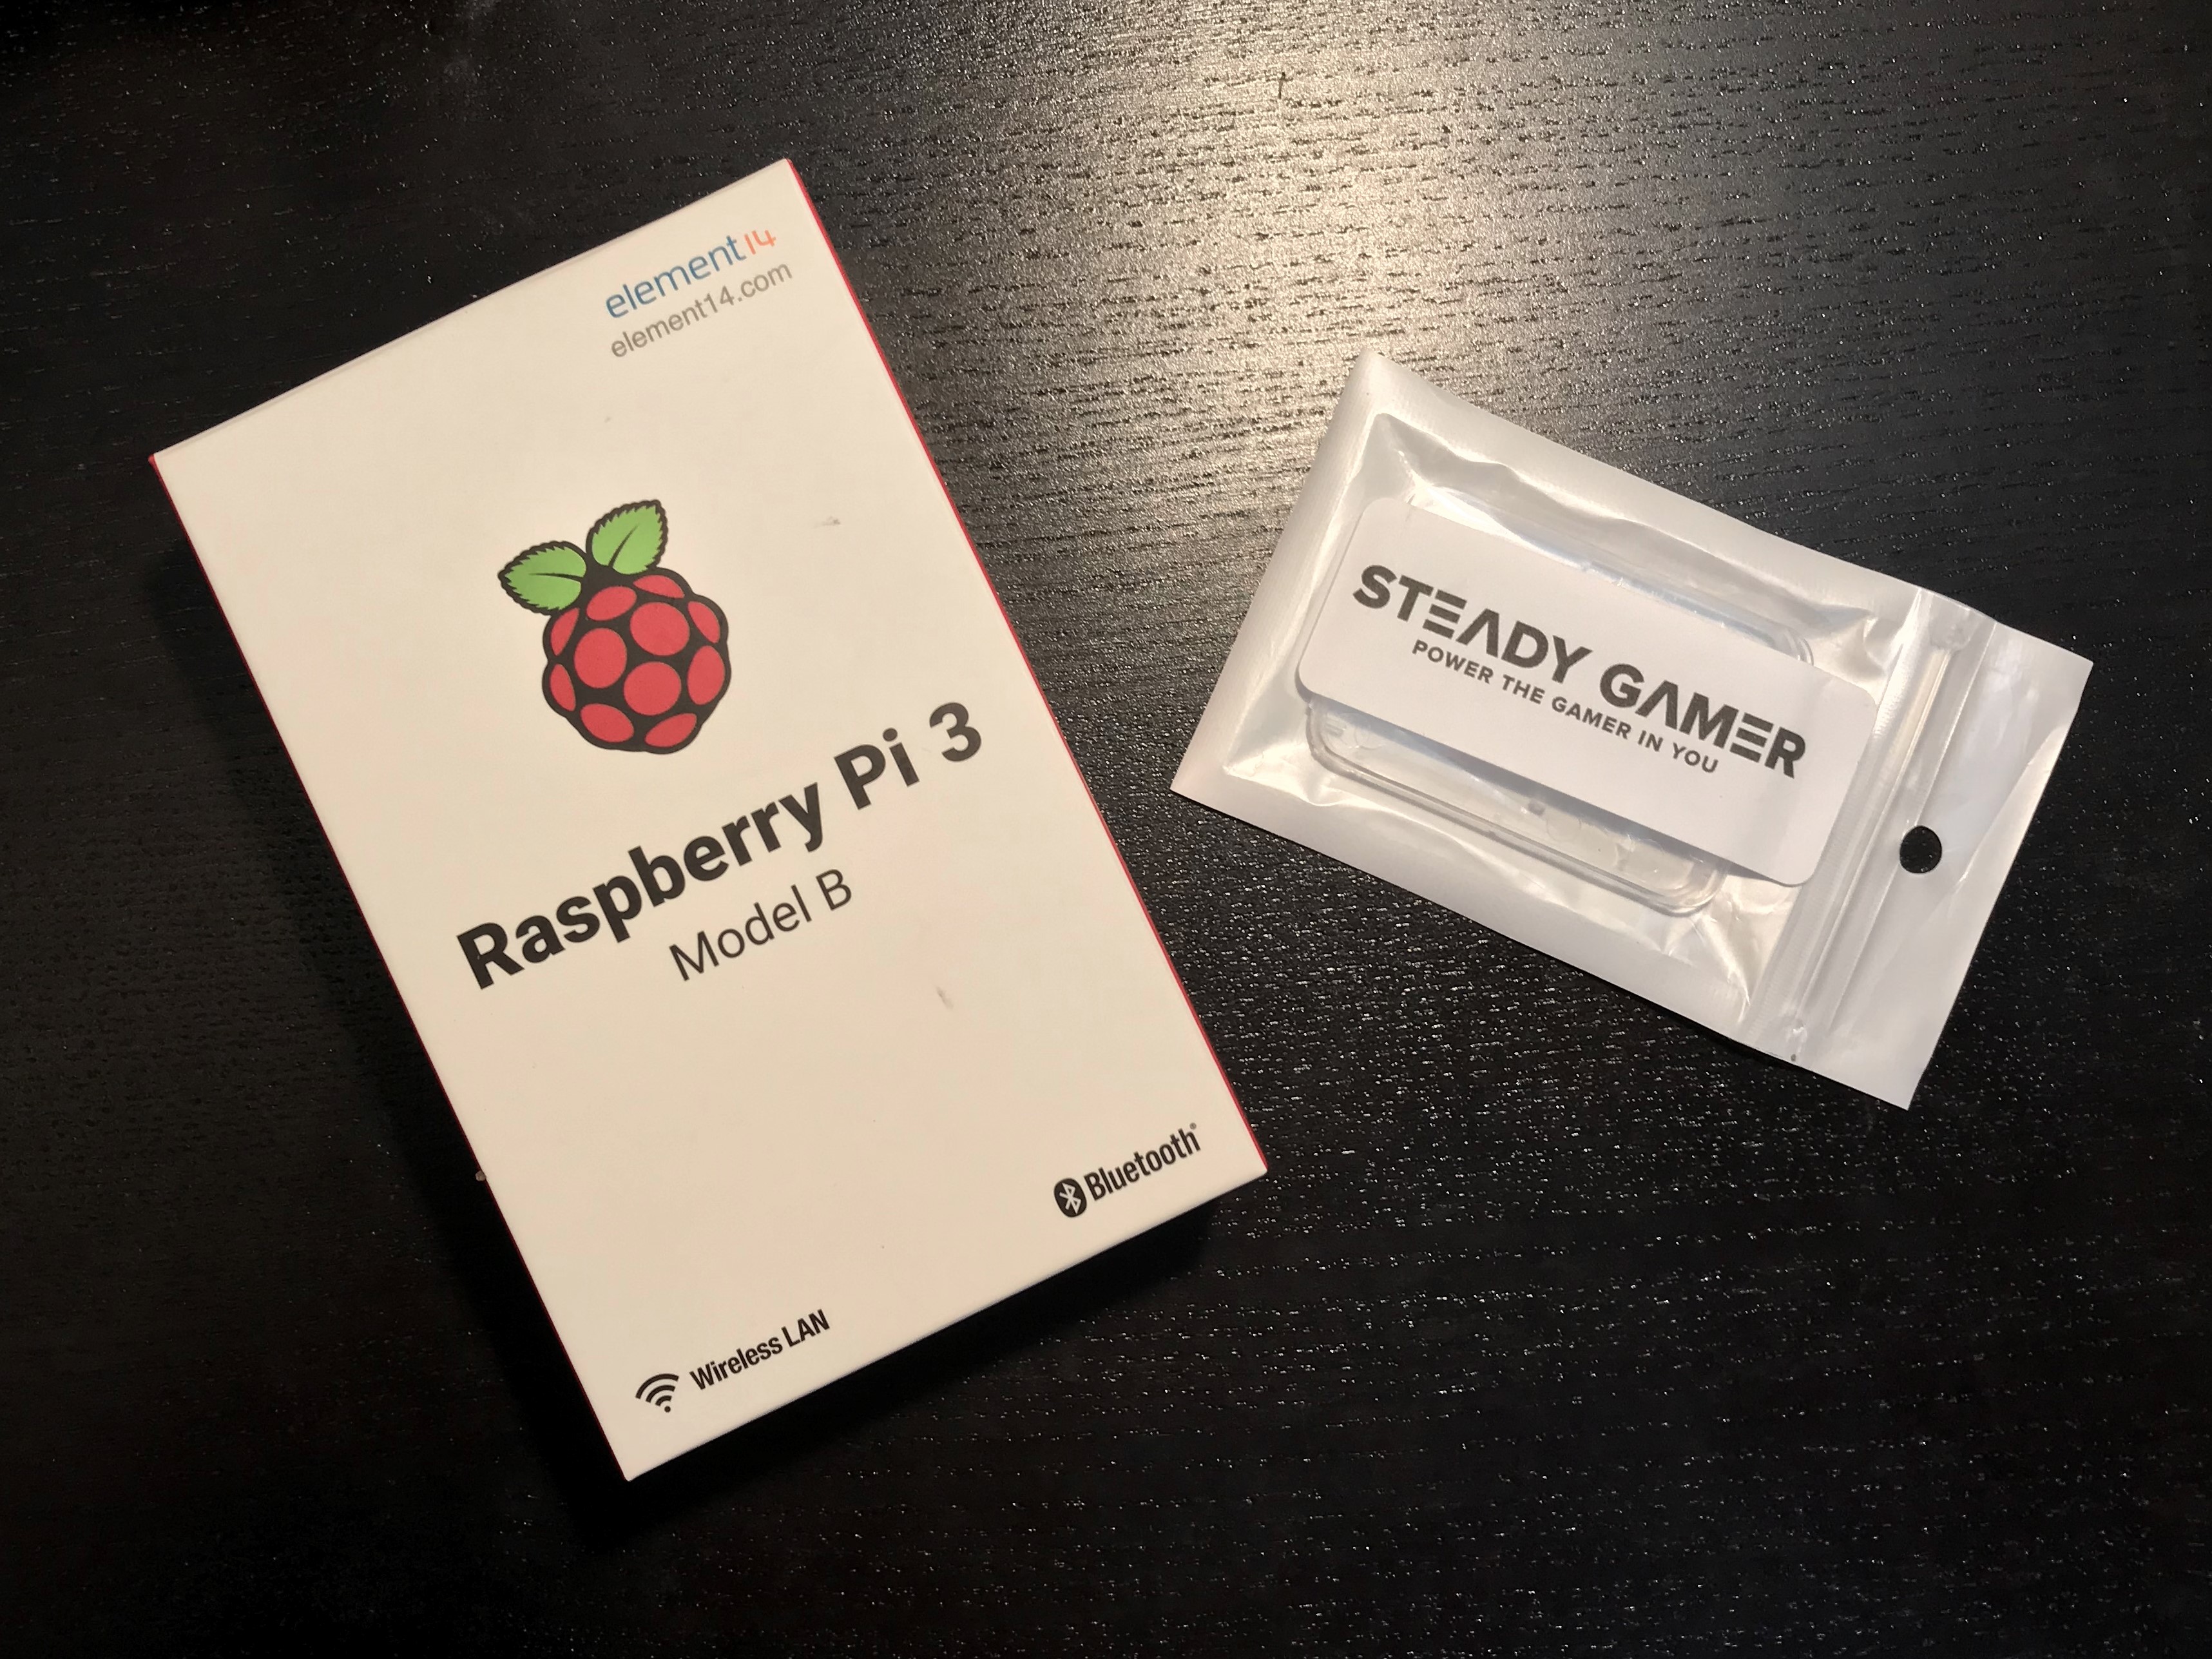
Just imagine the untethered possibilities of connecting the Raspberry Pi to a Wi-Fi enabled workstation without the need of a monitor or keyboard. Using your Windows desktop or laptop’s built-in mobile hotspot settings and a simple edit of your Wi-Fi-enabled Raspberry Pi’s micro-SD card you can easily set up a headless configuration. Using an SSH terminal application like PuTTY, you can do anything on the RPi as if you were locally attached.
Preparing the micro-SD card
Download a recommended version of Raspbian. If you don’t need the desktop, choose Raspbian Stretch Lite. The NOOBS image requires image selection and setup using a keyboard, mouse and monitor. For that reason I do not recommend choosing NOOBS for this project. But if you prefer to proceed with NOOBS, first perform the installation and then return here to continue configuration.
Etcher is an application that will easily write the Raspbian image to a micro-SD card. You do not need to unzip the downloaded image file. Etcher will handle that for you.
Regarding micro-SD cards, it is very important that you choose a proper one. Not all micro-SD cards are suitable for the Raspberry Pi. Please visit raspberrypi.org’s SD card documentation for detail. On the high end of products, I can personally recommend 32GB Raspberry Pi Preloaded (RASPBIAN) by Steady Gamer. You will also need an adapter or card reader to install the image and edit configuration if your workstation does not already have this ability.
Configure mobile hotspot
Open Windows Settings on your workstation and then click Network & Internet.

In the left panel, click Mobile hotspot.

In the Mobile hotspot panel, click Edit the Mobile hotspot Network information.

Enter network information for your Mobile hotspot and then click Save. You may configure the hotspot however you wish but note that this enables access to your internet connection. For the purposes of this project I have chosen a good network password but in my own projects I use a network name and password that are easy to remember. I turn off the hotspot when not in use.

Turn on your Mobile hostspot by clicking the On/Off toggle button.

Configure the micro-SD card
Insert the micro-SD card into your workstation or card reader. Windows my prompt to format the newly discovered drive. Cancel or close the dialog to prevent formatting the card.
Open a CMD prompt or Windows PowerShell prompt and navigate to the micro-SD card’s root. You can do this by right-clicking on the Windows Start menu icon and then selecting Command prompt or Windows PowerShell. Alternatively, you can tap the Windows key on your keyboard and then type “cmd” followed by the Enter key.

There are two files necessary in order to enable the Raspberry Pi to operate headless right from the start. The first file is “ssh”. It is an empty file that signals to Raspbian to enable SSH communication. To create this file, type “echo $null >> ssh” followed by Enter on the command line.

The second file, wpa_supplicant.conf , configures Raspbian’s Wi-Fi settings. Open Windows Notepad and copy the following text to the editor. On the command line, enter the following command: “notepad wpa_supplicant.conf”. You will be prompted to create a new file. Click Yes.

Copy and paste the following template text to Notepad.
ctrl_interface=DIR=/var/run/wpa_supplicant GROUP=netdev
network={
    ssid="YOUR_SSID"
    psk="YOUR_WIFI_PASSWORD"
    key_mgmt=WPA-PSK
}
Edit the ssid and psk fields changing YOUR_SSID to the network name you created for your hotspot. Change also YOUR_WIFI_PASSWORD to your hotspot’s network password.

Exit Notepad saving wpa_supplicant.conf.
Getting connected
Close Command or Windows PowerShell and then remove the micro-SD card from your workstation or card reader and insert it into the card slot of the Raspberry Pi.
Open Windows Mobile hotspot settings again. (Settings -> Network & Internet -> Mobile hotspot)
If Mobile hotspot is turned off, turn it on now.
Apply power to the Raspberry Pi. Observe the Mobile hotspot settings panel on the workstation. After several seconds, you should see the Raspberry Pi connection displayed. Note the IP address of the device. Each time this Raspberry Pi connects to this workstation, it will usually have this IP address.

Open an SSH terminal like PuTTY. Enter the Raspberry Pi’s IP address into the Host Name field of the SSH terminal and then click Open if using PuTTY or follow your SSH client’s instruction for making connection.

You will be prompted to accept the host key sent by the Raspberry Pi. Accept the key.

The Raspberry Pi will prompt for user name and password.

The default credentials are “pi” for the user name and “raspberry” for the password.

Note the last paragraph in the terminal. Raspbian will continue to remind you to change the password until you do so. It is not absolutely required but you should certainly do this if you deploy your project into production.
If using PuTTY, you can resize the window to your liking.
Configure you Raspberry Pi by typing “sudo raspi-config” then Enter in the terminal. Many commands will require elevation to Super User so they are preceded with “sudo” for that purpose.
There are two configurations that are highly recommended:
Expand Filesystem
In raspi-config, arrow down to Advanced Options. Select Expand Filesystem. Very quickly, raspi-config will resize the root partition and present a confirmation. Press Enter to return to the raspi-config main menu.
Update Raspbian
Arrow down to Update in the raspi-config main menu. Press Enter. Using your internet connection, the Raspberry Pi will download updates to Raspbian and other applications. This may take several minutes. When finished, you will be returned to the raspi-config main menu.
To exit raspi-config. Press Tab repeatedly until Finish is highlighted in red then press Enter.
That’s it! In the next part we will demonstrate setting up NetBeans IDE 10 for remotely running and debugging your applications.
